
How to Add an SSD to Your Roon Nucleus (Step-by-Step Upgrade Guide)

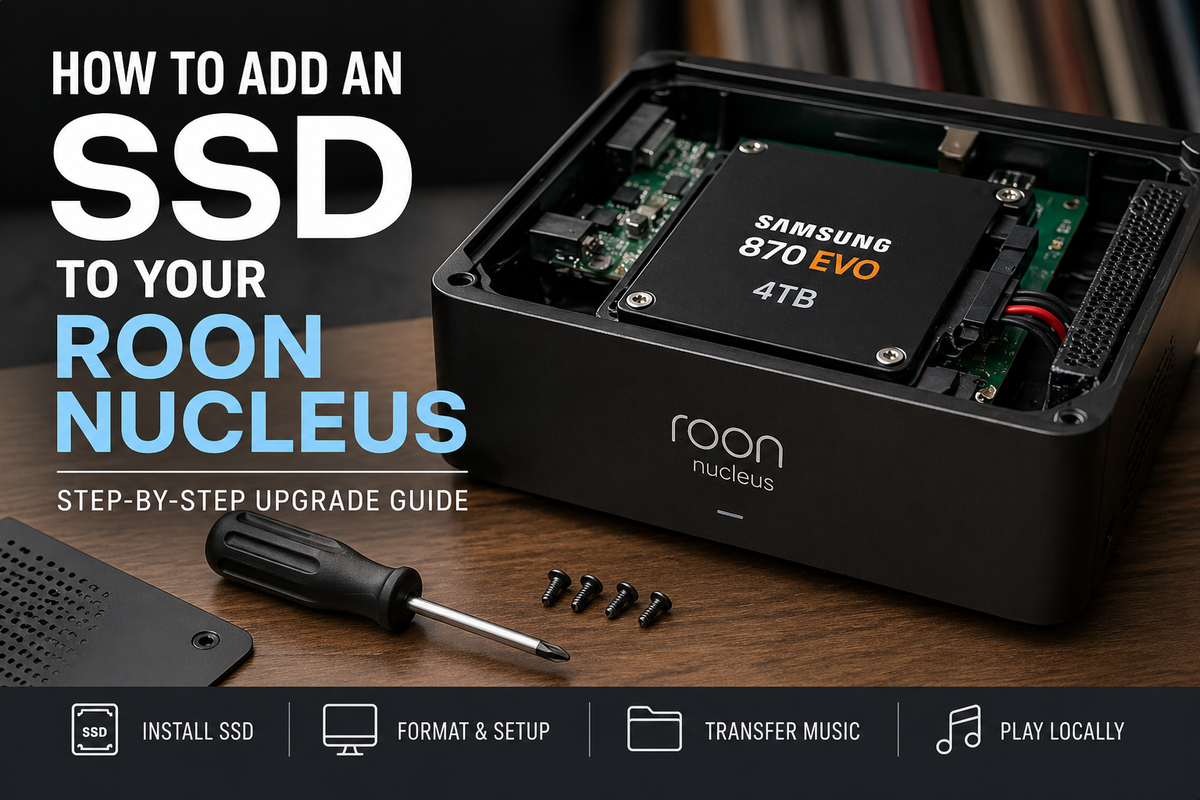
If you own a Roon Nucleus and skipped the internal storage option when you bought it, you’re not alone. The good news is that adding an internal SSD later is not only possible, it’s actually a straightforward upgrade that can significantly improve how you manage and access your music library.
In this guide, I’ll walk you through the full process of installing an SSD into a Roon Nucleus, formatting it, and transferring your music so you can play everything directly from your server.
If you’d rather follow along visually, I’ve also created a full step-by-step video walkthrough here:
Why Add Internal Storage to a Roon Nucleus?
While external USB drives work, they’re not always the cleanest or most reliable solution long term.
Adding an internal SSD gives you:
- A cleaner setup with no external drives hanging off the back
- Faster and more stable access to your music library
- A fully integrated Roon experience
- Plenty of space for high-resolution files like DSD
If you’re serious about your digital front end, this is one of the simplest upgrades you can make.
What You’ll Need
Before getting started, make sure you have the following:
- A compatible SATA SSD (I used a Samsung 870 EVO 4TB)
- A Phillips screwdriver
- SSD mounting screws (don’t skip this—you’ll likely need them)
- Your Roon Nucleus powered down and unplugged
Step 1: Power Down and Open the Nucleus
Start by safely shutting down your Roon Nucleus using the rear power button. Once it’s off, disconnect all cables.
Flip the unit over and remove the screws to access the internal bay. Inside, you’ll find the SATA connector and mounting points for the SSD.
Step 2: Mount and Install the SSD
Attach the SSD to the mounting plate using the correct screws. This step matters more than people think—leaving the drive loose can lead to vibration or connection issues over time.
Once mounted, connect the SATA cable, making sure the orientation is correct. It should slide in cleanly without force.
Reassemble the unit and reconnect your cables.
Step 3: Format the Drive in Roon
Power the Nucleus back on and open Roon.
From the settings menu, locate your Nucleus and access its web interface using the IP address. From there:
- Navigate to internal storage
- Select the new SSD
- Format the drive
This step will erase all existing data on the drive, so make sure it’s empty before proceeding.
Step 4: Connect and Transfer Music
Once formatted, you’ll connect to the drive over your network.
Using Finder (Mac) or File Explorer (Windows), enter the network path:
SMB://[Your IP Address]/Data/Storage/InternalStorage
From there, you can drag and drop your music files directly onto the drive. Transfer times will vary depending on file size and network speed.
Step 5: Verify Playback
After your files are transferred, head back into Roon.
You should see your library update automatically. Pick an album and hit play to confirm everything is working correctly.
In my case, I tested with a DSD file and confirmed proper playback through my system.
Final Thoughts
This is one of those upgrades that doesn’t take much time but makes a big difference in day-to-day use. Having your music stored internally keeps everything streamlined and lets your Roon Nucleus operate exactly as intended.
If you’ve been relying on external drives, this is a great way to simplify your setup and future-proof your library.
And if you want to see the full process in action, including formatting, network connection, and playback testing, watch the full video here:
https://youtu.be/tPU04w8krqU